
Showing posts with label devlog. Show all posts
Showing posts with label devlog. Show all posts
Wednesday, January 22, 2020

Tuesday, March 7, 2017
Shooting Projectiles

Shooting projectiles! thats a progress.
Creating a shooting projectiles is a big step. This projectiles will add an action style into the platformer.
Lets see what wikipedia think about an action genre :
The action genre includes any game where the player overcomes challenges by physical means such as precise aim and quick response times. Action games can sometimes incorporate other challenges such as races, puzzles, or collecting objects, but they are not central to the genre. Players may also encounter tactical and exploration challenges, but these games first-and-foremost require high reaction speed and good hand–eye coordination. The player is often under time pressure, and there is not enough time for complex strategic planning. In general, faster action games are more challenging. Action games may sometimes involve puzzle solving, but they are usually quite simple because the player is under immense time pressure.
And i think, a character that shoots is lessen the cuteness of the character itself.
A dagger? bullets? magic? ....and my choice fall into..
Fireflies!. its magic and its cute 😊

A firefly spritesheet, and a shooting effect. Done!
Sound Effect? 😕
Enemies? Bosses? 😅
I still want to add some role play element into the game, but i don't have any idea yet.
Well, see ya next time!
Friday, March 3, 2017
Cave Tileset and The First Obstacle

Last week has been a very busy week. There's so many assignment i barely touch the development of the game.
And today i finished, ....err, half-finished a cave tileset for another level of my platformer-wannabe.
lets take a peek

Here it is. just plain walls and floors. No decorations. No terrains. Just empty.

I also added a hurt state, some recovery time that no enemy can hurt the player and a first obstacle. The great spike 😂
So, what do you think?
Tuesday, February 21, 2017
Grass Animation

Wikipedia says :
A Platform game (or platformer) is a video game which involves guiding an avatar to jump between suspended platforms and/or over obstacles to advance the game. The player controls the jumps to avoid letting the avatar fall from platforms or miss necessary jumps. The most common unifying element of games of this genre is the jump button, but now there are other alternative like swiping in touchscreen. Jumping, in this genre, may include swinging from extendable arms, or bouncing from springboards or trampolines. These mechanics, even in the context of other genres, are commonly called platforming, a verbification of platform.
From over the internet, feedback -they said- is one factor that make a platformer, or maybe any game feels good. It is how the character actually interacts with the environment. The dust animation is one thing. With this little effect, it makes a lot of different how the game look and feel. The game is more "visually polished" and pleasing to play.

Dust effect.
This time i try to make the grass, or flower maybe, or any kind of cosmetics decorations animated when the player is interact with it. I follow a tutorial from https://zackbellgames.com/ using a sprite skewing and triangle strip to make the grass wiggle.
And the result is

The flower will move a bit when the player interacted with them.
 And, with some layering setup, i got some depth effect bonus as the result.

Tuesday, February 7, 2017
GameMaker Studio 2 Simple Parallax Background

Many tutorials of Game Maker Language parallax background over the internet is using view_xview() and view_yview() function. Unfortunately, this function is deprecated in GameMaker Studio 2. 😕
While searching for the rightway to do the parallax background, the very basic view_current example script from the gamemaker documentation give a nice parallax effect too.
Solid color background :

So, here is the description from view_current syntax :
Description
This read only variable is only valid in the Draw Event and returns the current view port being rendered. The return value will change during the draw event when you have various views as the draw event is called once for each view port in succession. So when (for example) you are using view port[0] and view port[1] in your game room, the draw event for ALL instances will be run twice, once for each port, and with this variable you can check to see what view is currently being drawn. In general, this is used to only render specific details to a single port when multiple view ports are visible in the room at the same time. See the example code below.
Syntax:
view_current;
Returns:
Real (view port index from 0 to 7)
Example:
if view_current == 0
{
var xx = camera_get_view_x(view_camera[0]);
var yy = camera_get_view_y(view_camera[0]);
draw_text(xx + 32, yy + 32, "Player 1");
}
else
{
var xx = camera_get_view_x(view_camera[1]);
var yy = camera_get_view_y(view_camera[1]);
draw_text(xx + 32, yy + 32, "Player 2");
}
The above code checks to see which view is currently being drawn and then draws a different text to each view based on the return value.
How to implement it?
Simply create an object and create an instance layer. Put the layer behind other layer and put the object there.
On the object draw event :
if view_current == 0
{
var xx = camera_get_view_x(view_camera[0]);
var yy = camera_get_view_y(view_camera[0]);
draw_sprite_tiled(sprBackground,0,xx/2,yy);
}

And thats it. A nice one-layer parallax background.
Please comment for the rightway to do it. Hey, i'm a newbie anyway. 😁
Friday, February 3, 2017
Newbie Tutorial GameMaker Studio 2 - The Sign Post

Hello there. Today i'm gonna write about how to make a sign post on GameMaker Studio 2.
This is not really a tutorial, is just step by step how i do it.
If you ask me where i get the font on the left gif picture, its called m3x6 font, and i download it from managore.itch.io .
You should have your player and movement set up before you can follow this step by step how to make a sign post.
From my point of view, a sign post is similar from Non Playable Character or NPC. The different is a sign stand still and an NPC wanders around. Well, NPC also need you to push the action button to interact and -maybe- he/she can have multiple answer/branch.

Ok. First, prepare the sprites for the sign. Set the origin to Top Center and then...
..... err, maybe i should skip into the code instead?

Create a font asset, and set it to your needs. For this example i name the asset fntDefault, use m3x6 font, set the font size into 11 and turn off anti-aliasing mode.

Create object Sign Post. Assign the sprite that we draw earlier into the object, and then add 3 events.
Create - the code that runs on the creation of the object
Step - the code that runs on every game frame
Draw - also runs on every game frame to draw something

On the Create events :
// initialize the object
trigger = 0;
// the on and off trigger
textToShow = ""; // the text to draw
On the Step events ;
if (place_meeting(x,y,objPlayer)){ // if the player is touching the sign
trigger = 1; // turn the trigger on
}
else { // if there is
no player around
trigger = 0; // turn back the trigger
off
} // end of
code
On the Draw events :
draw_self(); // Draw the Sign
Sprites
if (trigger == 1){ // if the trigger is on
// this
section is to draw the black shadow font
draw_set_alpha(0.7);
// set the font to 30% transparant
draw_set_color(c_black);
// the font color, black
draw_set_halign(fa_center);
// the horizontal align, center
draw_set_valign(fa_bottom);
// the vertical align, bottom
draw_set_font(fntDefault);
// font to use, fntDefault
draw_text
(x+1,y-5+1,textToShow); // draw textToShow
// the magic number -5- is how hight your font from the
origin of the sprites and
// the x+1 and y+1 is one pixel away to the right and down
from the original font
// this
section to draw the font
draw_set_alpha(1);
// set the font to 100% visible
draw_set_color(c_white);
// same as above
draw_set_halign(fa_center);
draw_set_valign(fa_bottom);
draw_set_font(fntDefault);
draw_text
(x,y-5,textToShow);
}

put the object into the room. And.. nothing happened. 😐

No text to show?
Ofc. remember the code?
textToShow = "";
We have to write something into it. But wait, how to make every object different?
Instead of filling the "textToShow" into the object code, we alter the value from the creation code. Go to the room and double click the object.

And thats it. I hope you like what i write. See ya next time.

Wednesday, February 1, 2017
The Platformer Movement Engine

From the last movement engine, finally i have added some more behaviour to the engine to make it feels more complete. More states, more animations, more effects and more conditions and behaviours.
Its just like an advanced platformer movement engine in the hand of a newbie because of the complexity of the movement, yet only use the basic of gamemaker language script 😂.
As a beginner, my engine heavily use IF conditional operator for one expression onto another. And it took me couple of days just to fix silly bug. Ofcourse maybe there is more bug yet to be found later on.
And here is the results:

Walking and running.

Jumping

Doublejump-ing

Ducking and sliding

Hanging on the wall

Wall sliding

And ledge grabbing.
So what do you think?
Would you buy my game someday? 😅
Monday, January 30, 2017
GML Movement Engine - Bug Fixing

It is very annoying when your character stuck in a wall, or just zapping into another location out of control. There's always a bug to fix in a game. And doing bug-fixing is not fun at all.
I learn the function of draw_text() and string() this week out of bug-fixing. Hey! whats the use of these function anyway? from the GameMaker Help File :
draw_text(x,y,string);
With this function you can draw any string at any position within the room (for drawing real numbers you should use the string function to convert them into text). To combine strings you can use + (see example below), you can also use # to add a line break to the string (should you need to display the # symbol, then you should precede it with a backslash like this "this will draw a \#") and you can also draw quotations by using inverted commas (for example 'I said "Hello"...'). The colour of the text and the alpha are governed by the current base alpha and colour values as set by draw_set_alpha and draw_set_colour
NOTE: The actual position of the text will be influenced by the alignment values set by draw_set_halign and draw_set_valign.
NOTE: The actual position of the text will be influenced by the alignment values set by draw_set_halign and draw_set_valign.
string(val);
With this function you can turn any real number into a string. If the real number is an integer, it will be saved with no decimal places, otherwise, it will be saved with two decimal places.
Well for me, i just draw the result of the custom condition i make on to the screen. For example is, is there a wall in front of my character? if yes make my character stop.
so i make a custom condition :
isWall = position_meeting(x+(7*image_xscale), y, objSolid);
...but how do i know that the condition is true or false? is the addition of 7 pixel correct?
and yes thats it. i use the draw_text() and string() to know the result. I just write
draw_text(objPlayer.x,objPlayer.y,string(isWall));
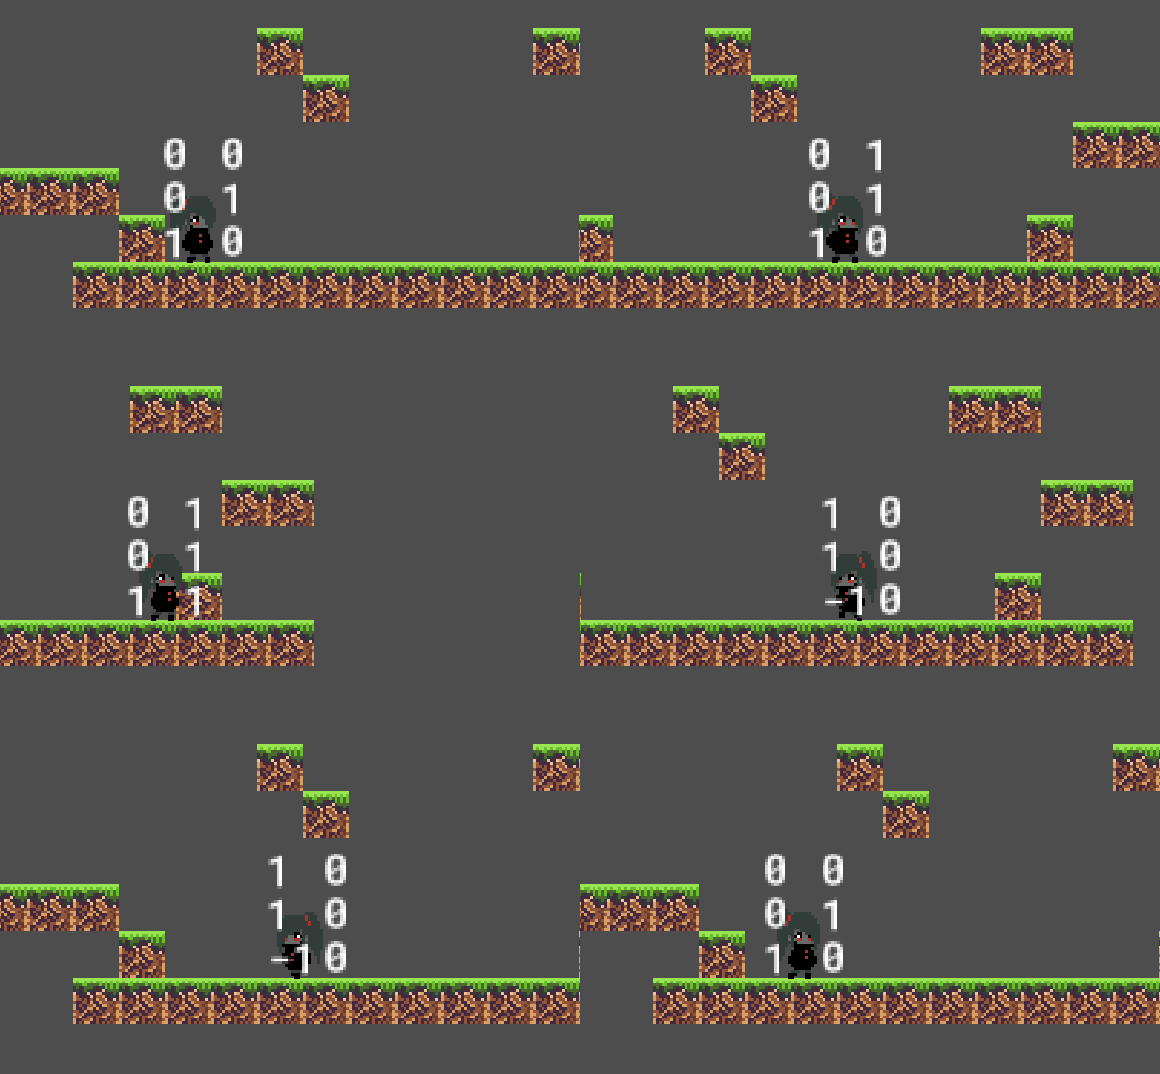
And suddenly the unclear become more clear . 😄
Thursday, January 26, 2017
GameMaker Studio 2 - Camera View

Moving around the world we create is fun. But when the player is moving outside the view is not fun anymore. Making the camera follows the player is a way to prevent the player moving outside the view.

Directly make the camera follow the player feels ... limited? its like the player sights is limited to half of the screen when moving around.

My second attempt is to make an object that move ahead the player and goes back to the player when no key is pressed.
But there's a glitch in it that if the key left is pressed and then the key right is being pressed afterwards, no no-key event in between of those two event. Because of the key is being pressed one over another without releasing the key, the object if fall way behind the player.

So i make sure that the object is always in front of the player. But the left and right position transition is kinda jumpy and its very annoying.

And after thousand of attempts 😁, finally the result is satisfying. And i got an up and down sight as a bonus.
And yup this is it.
My personal notes about Camera View. 🙂
Tuesday, January 24, 2017
Creating A Movement Engine : Walking and Jumping
Learning something new sometimes feels overwhelming 😥. But hey, one step at a time.... As the blog says, even an expert was once a newbie (i forget the source of this quote, sorry 😅)
From many tutorials over the internet, i finally grab a little of the basic a movement engine. My point of view is, -to simplified things-, i have to understand what is the condition of the player sprites and what is the effect to the sprites when it meet the condition.

Is the sprites is on the ground or not?
what is the effect if the sprites is not on the ground, drag down by gravitation? or i want something else? flying maybe? or flying only if i press the spacebar?
What is the criteria of "on the ground" anyway. maybe i could define if theres something below the sprites, then it is on the ground. But how to check if there's something below the sprites?
What if the sprites against the wall? What it can do and what it can't do? Jump off the wall?
How about ladder? water? quicksand maybe? The questions and the possibilities could be endless.
Long story short, i do lots of reading and learning from heartbeast and shaunspalding great tutorials and courses.

And my character can move now.
😙#whistle.
Thursday, January 19, 2017
First Block Of Tiles

There's so many beautiful tileset out there. Some of them are paid and some others are free.
To create your own tiles is another story. I follow a tutorial from www.wildbunny.co.uk trying to create a retro look of tiles but using my own color preferences. And instead of 32x32 pixel, i use 16x16 pixel to match with my player sprites.
The result of course is ugly :)
But it's satisfying.

This is the result with only 2 tiles.
Top-middle tiles and middle-middle tiles.
I might try to create for other tiles position later.

Maybe i will change the color pallete too if it is not "clicking" with the whole theme. Who knows... its a thousand years before alpha anyway.
Wednesday, January 18, 2017
Pixel Art Walking Cycle

Honestly, i don't even know where to start to make a walking cycle for my character until i read +Sandy Gordon pixel art walk cycles step by step tutorial that breaking the walk cycle into some key poses at https://www.patreon.com/bandygrass.
If you really like pixelart pictures, i think his art is amazing.
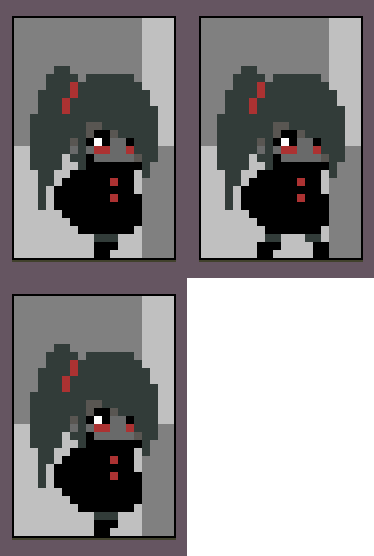
Following his tutorial, i start with two frames walk cycle. Contact pose and passing pose.
Contact pose is where foot meets ground.
And passing pose is where one foot passes the other foot.
At the next step, adding up and down poses (vertical motion), i kinda find it too busy for 16x16 pixel character and ended up only adding down poses. But hey, it's just a matter of prefereces.

4 frames walking cycle looks good. But the tutorial covers much more to polished the walking cycle, adding stretch, squash and or bounce to the frames.

I find the last one is too busy so i reduced some stretch and squash at some frame.
The result is kind of a lame walking but i like it more than the last step. Maybe i could use the busy one for my running animation.
What do you think?
And there it is. I done my 8 frames walking cycle thanks to +Sandy Gordon aka @bandygrass for his amazing tutorial.
Monday, January 16, 2017
The 16x16 pixel Character

i finally got the sticky girl more shaped.


into this one.
...... but wait, is this a female or a male? :/
nevermind. lets animate her idle pose..

Subscribe to:
Posts (Atom)